BIGOUDIS FLEXIBLES
Que le temps passe vite ! Il me semble que le dernier article « coiffures » publié sur le blog date de Noël dernier. Et à cette occasion, j’en profite pour partager avec vous un petit tuto que j’avais déjà planifié lors la création du blog et qui, pour une raison inconnue, n’as jamais été rédigé.
How time flies! It seems to me that the last « hairstyle » article published on the blog was last Christmas. And on this occasion, I take the opportunity to share with you a little tutorial that I had already planned when I created the blog and that, for some reason, was never written.
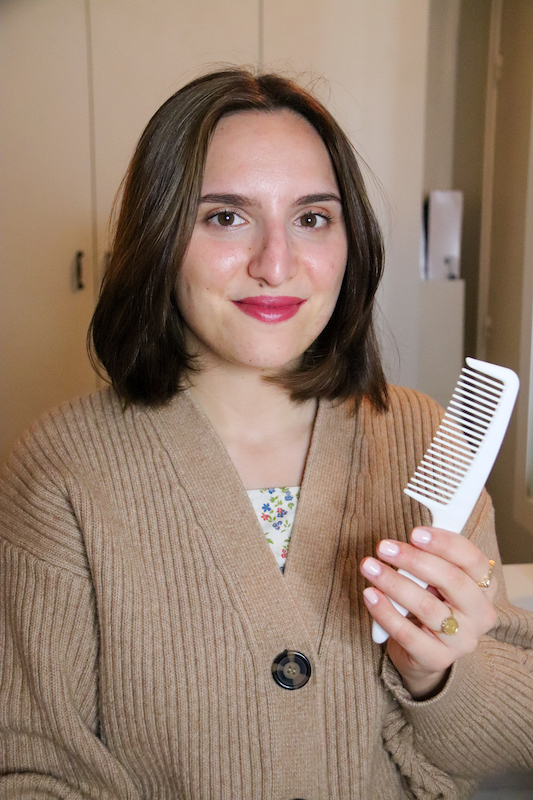
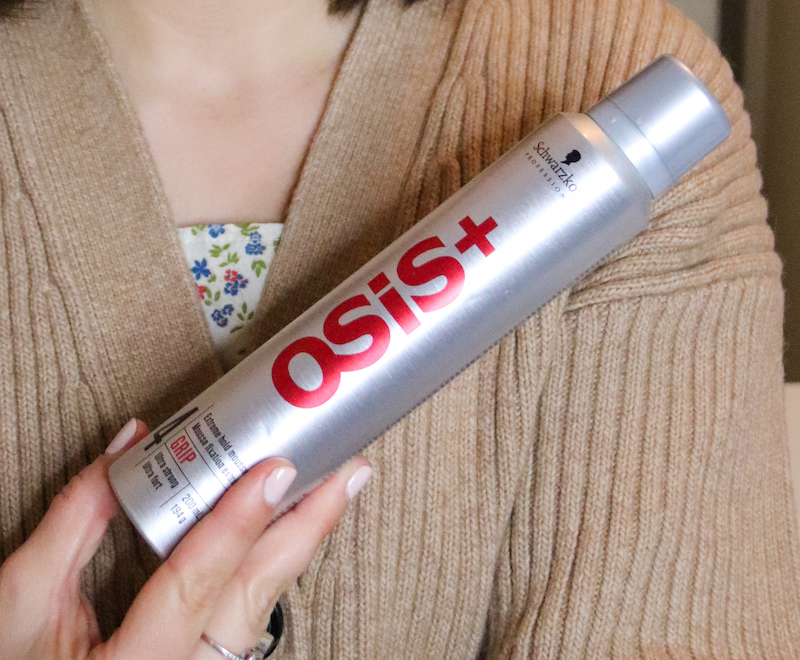
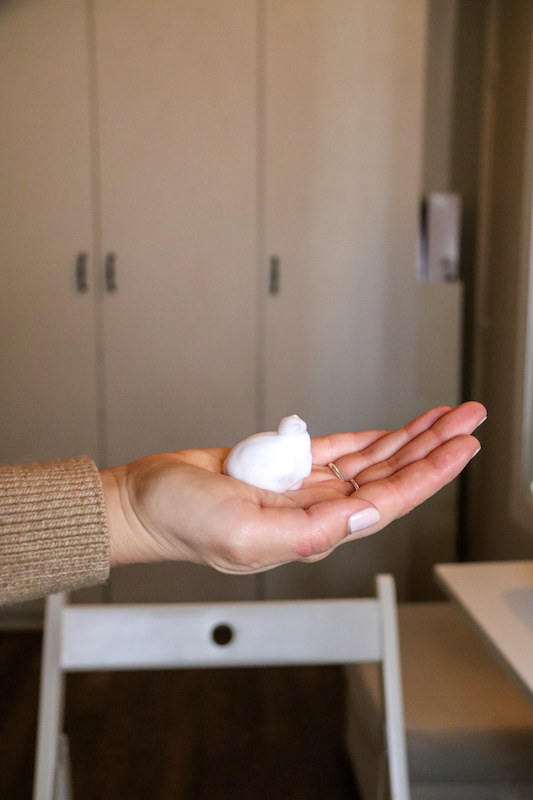
Pour commencer, peignez ou brossez vos cheveux secs et appliquez une mousse coiffante. Personnellement, mes cheveux étant très lisses, c’est le seul moyen que j’ai trouvé pour faire tenir les boucles tout au long de la journée.
To start, comb or brush your dry hair and apply a styling mousse. Personally, since my hair is so straight, this is the only way I’ve found to keep the curls in place throughout the day.
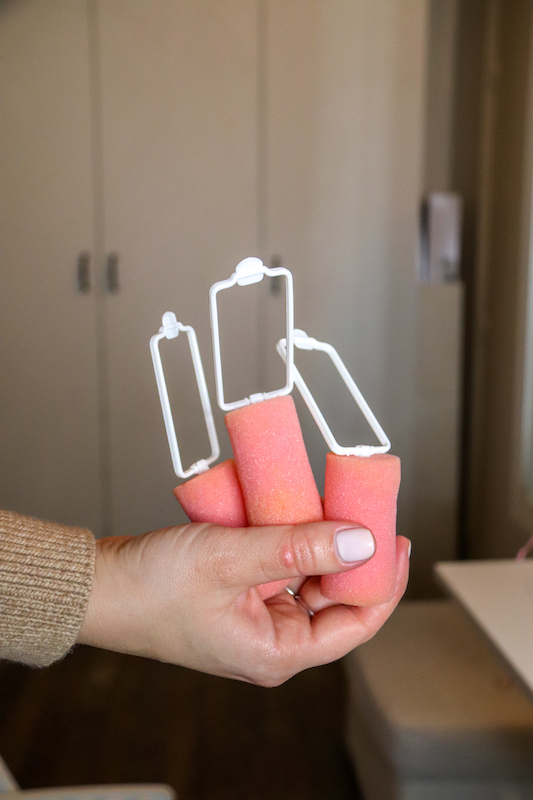
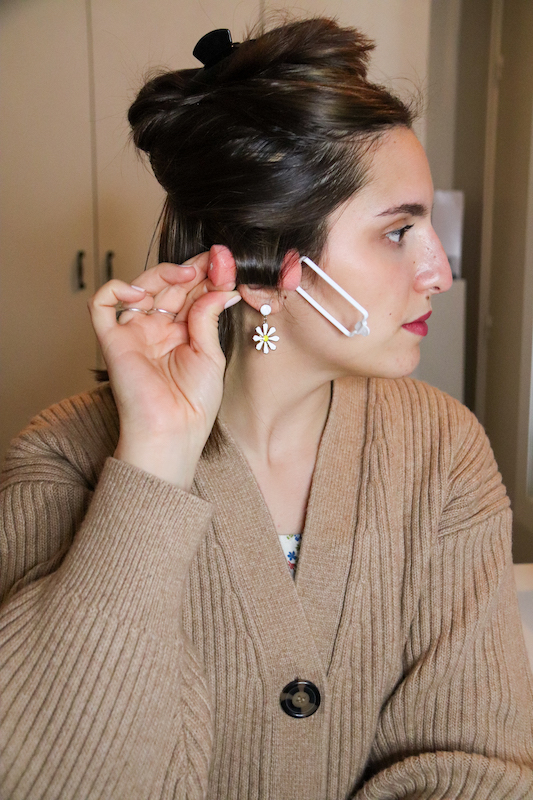
Vous pouvez ensuite passer à la pose des bigoudis. J’ai acheté ceux-là à La Boutique du Coiffeur mais vous pouvez également en trouver sur Internet. Ils ont l’avantage d’être en mousse, donc d’absorber rapidement l’humidité, et d’être suffisamment flexibles pour ne pas vous déranger si vous les portez pendant la nuit.
Then you can move on to the curlers. I bought these at La Boutique du Coiffeur but you can also find them on the Internet. They have the advantage of being made of foam, so they absorb moisture quickly, and they are flexible enough not to bother you if you wear them during the night.
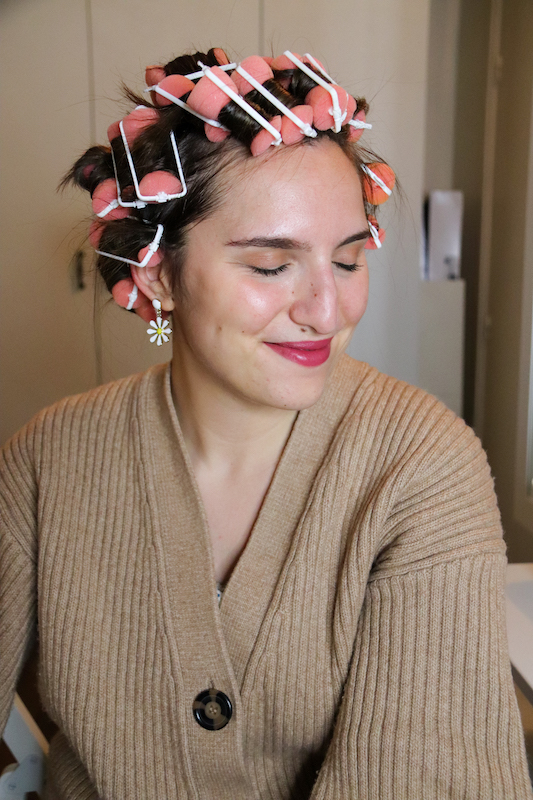
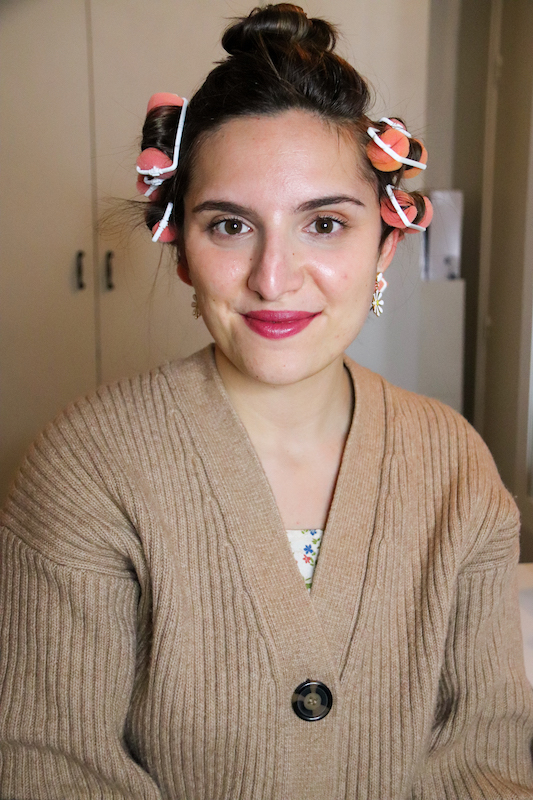
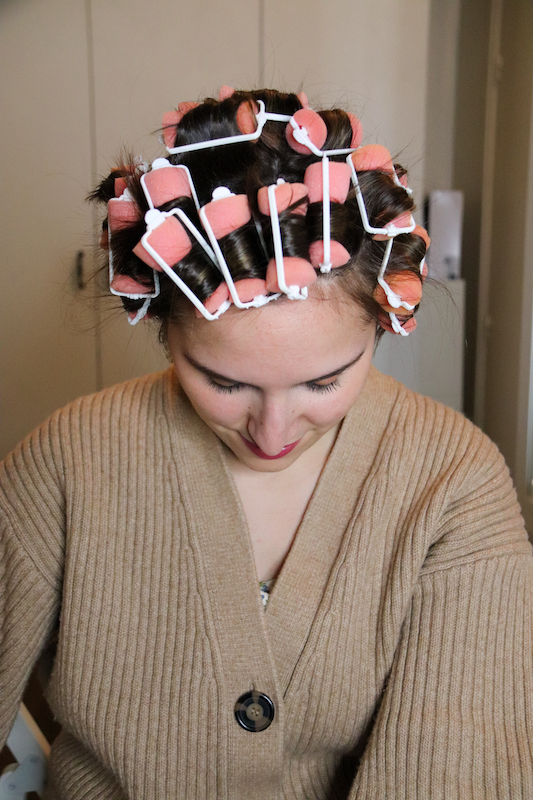
Petit conseil, privilégiez d’abord la pose en partant du bas et de la nuque et remontez progressivement vers le sommet du crâne. Pour créer une mèche à l’avant du visage, pensez à rouler les bigoudis dans le même sens, ça facilitera le brossage par la suite.
A little advice: first, place the curlers at the bottom of the head and at the nape of the neck and gradually work your way up to the top of the head. To create a strand at the front of the face, remember to roll the curlers in the same direction, which will make brushing easier later.

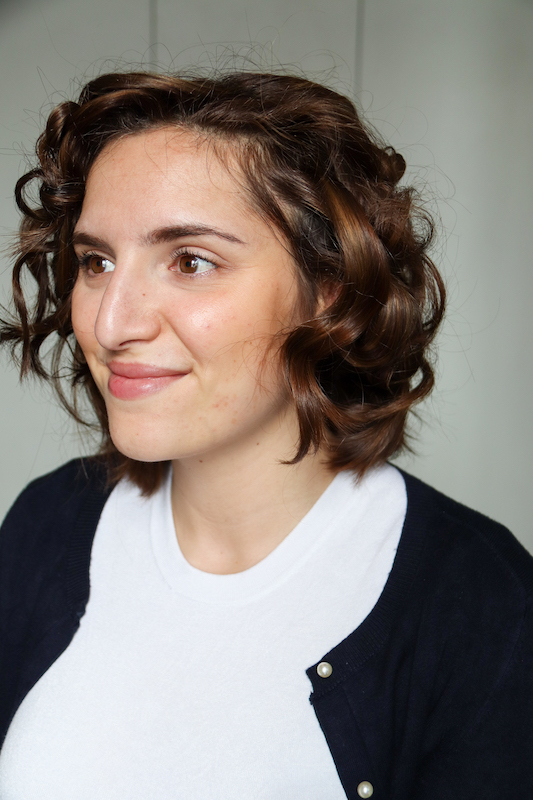
Une fois tous les bigoudis posés, prenez un foulard ou une écharpe et enroulez le tout pour éviter que le tout ne bouge. Le lendemain, vous pouvez défaire l’ensemble mèche après mèche.
Et enfin, pour le coiffage, privilégiez une brosse en poil de sanglier afin de garder le mouvement intact. Si vous n’avez pas encore le coup de main, prenez votre temps pour trouver la forme idéale pour votre visage.
Once all the curlers are in place, take a scarf or a wrap and roll it up to prevent it from moving. The next day, you can undo the whole thing strand by strand.
And finally, for styling, use a boar bristle brush to keep the movement intact. If you don’t have the hang of it yet, take your time to find the perfect shape for your face.


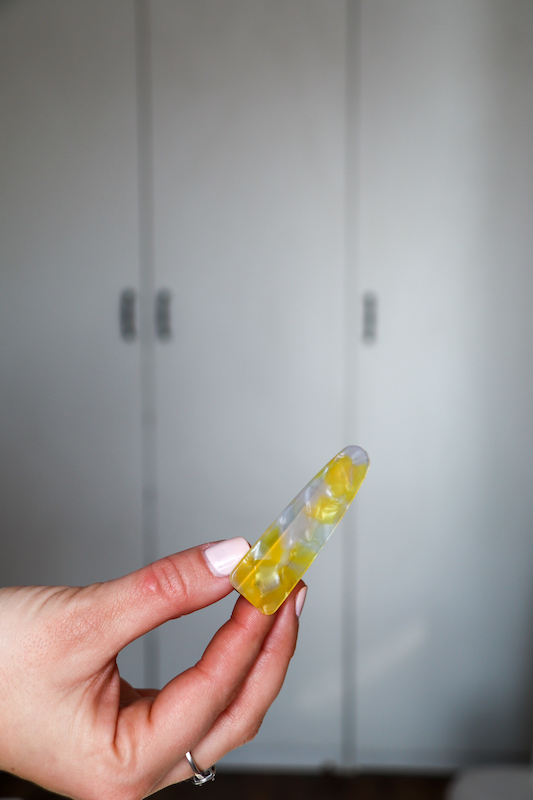
Vous pouvez également agrémenter votre coiffure avec des pinces pour un esprit vintage. Pour se faire, prenez une mèche d’une largeur d’environ 3 à 4 centimètres et roulez-la vers l’extérieur de votre visage pour créer un genre de vague et obtenir un résultat plus rétro.
You can also embellish your hairstyle with clips for a vintage feel. To do this, take a strand of hair about 3 to 4 centimeters wide and roll it outward from your face to create a sort of wave for a more retro look.
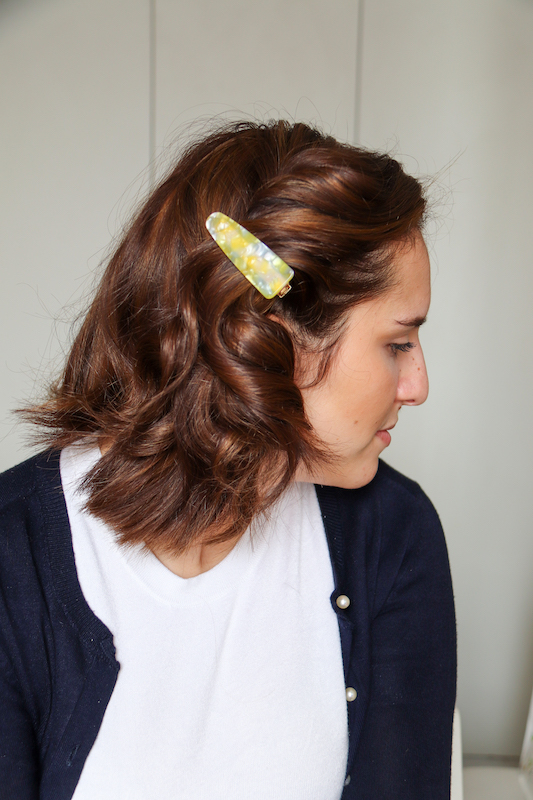
Voilà pour ce nouveau tutoriel qui vient s’ajouter à la liste de mes petites coquetteries. J’espère qu’il vous aura plu et permis de retourner brièvement dans les années 40 !
Here is a new tutorial to add to the list of my little coquetries. I hope you enjoyed it and that it took you back to the 40’s!

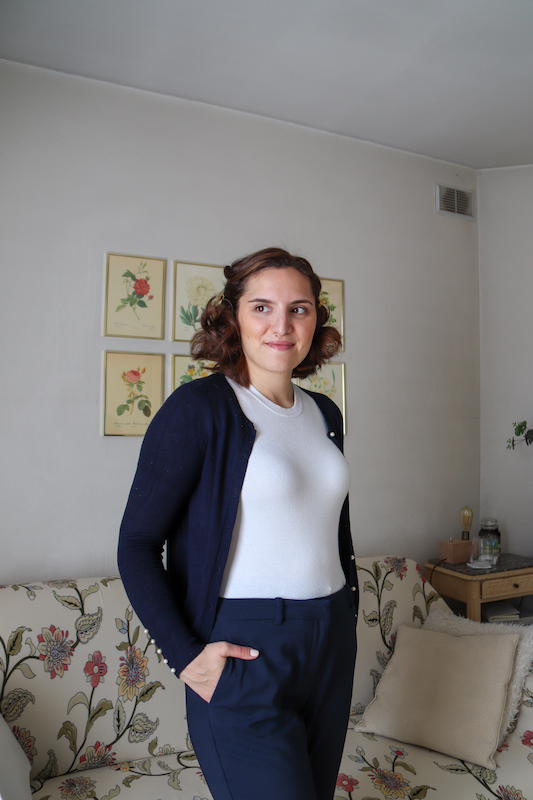
N’hésitez pas à partager vos idées de coiffures !
Feel free to share your hairstyle ideas!
